Importing Existing Project to STM32CubeIDE
August 3, 2023 • STM32 • 3 minutes to read • Edit

Let’s get one thing straight: I’m not the biggest fan of the Eclipse IDE. There, I’ve said it. In my view, Eclipse tends to overcomplicate tasks and create unnecessary obstacles for users just starting out. However, given that STM32 has chosen to tightly integrate their tools with their Eclipse-based IDE - STM32CubeIDE - I find myself using it regardless. While alternatives like VSCode or CLion are available, that’s not the focus of this post.
Instead, I want to focus on a new challenge I recently faced: importing an existing project into STM32CubeIDE. The project I worked with was on a NUCLEO-WB55RG board, but don’t worry if you’re using a different board or microprocessor. The process I’m going to outline here should work for you too. Until now, I’ve primarily used STM32CubeIDE to generate new projects. But, recently, I had a project I’d been working on another computer that I wanted to import onto my new one. I thought it would be beneficial to document this process, providing a guide for others who might find themselves in the same situation. So, let’s dive in.
Prepping up: What You’ll Need
Before we jump into the process, it’s essential to have the right tools at hand. Here’s what you’ll need:
- STM32CubeIDE: This Eclipse-based IDE is our primary tool for this task. You can grab the latest version right here.
- STM32CubeMX: This code generation tool will also come in handy. Get the latest version from this link.
- A Project with .ioc File: Make sure you have a project that includes an .ioc file. This is the project configuration file used by STM32CubeMX.
Make sure you’ve got all these tools downloaded and installed before we start. It’s always a good idea to run the latest versions because they come packed with the newest features and bug fixes. Let’s make our job as easy as possible!
Importing Your Project
Once you have the project ready, open STM32CubeMX and load the project that has the .ioc file. You can do this by clicking on File | Load Project... and selecting the project folder.
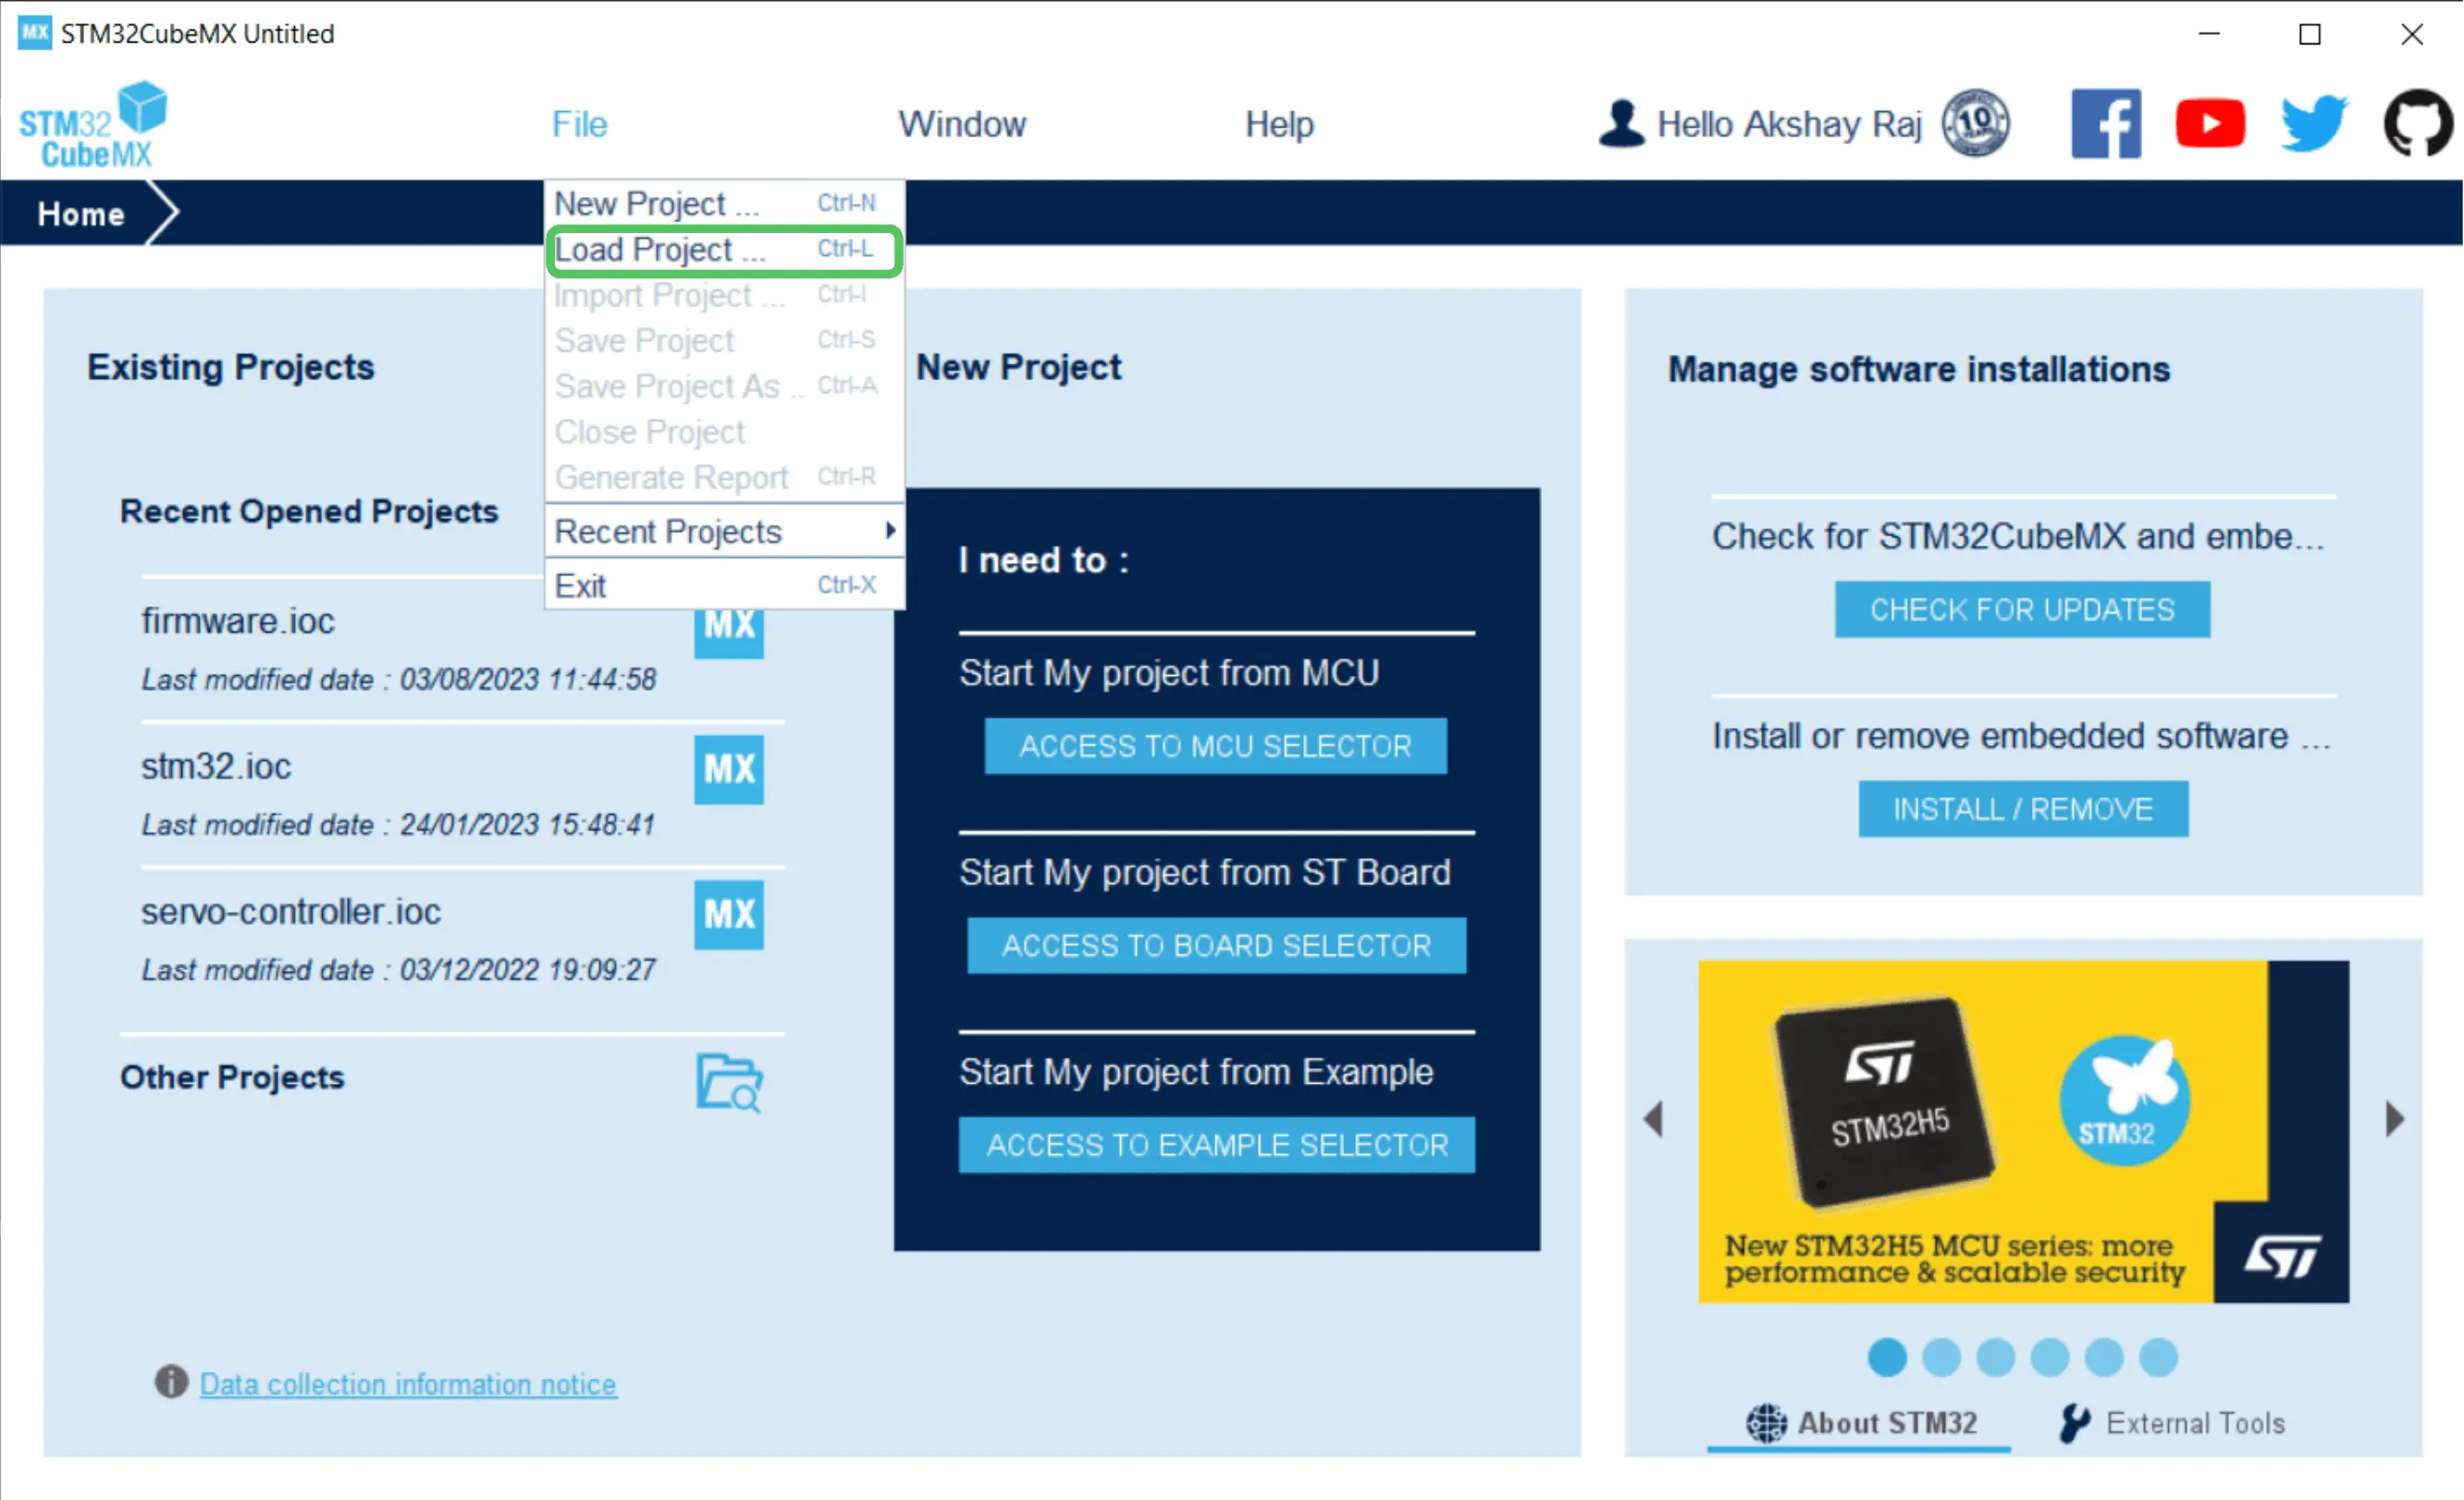
Load project - File | Load Project...
After loading the project, you’ll see the project configuration in the Pinout & Configuration tab.
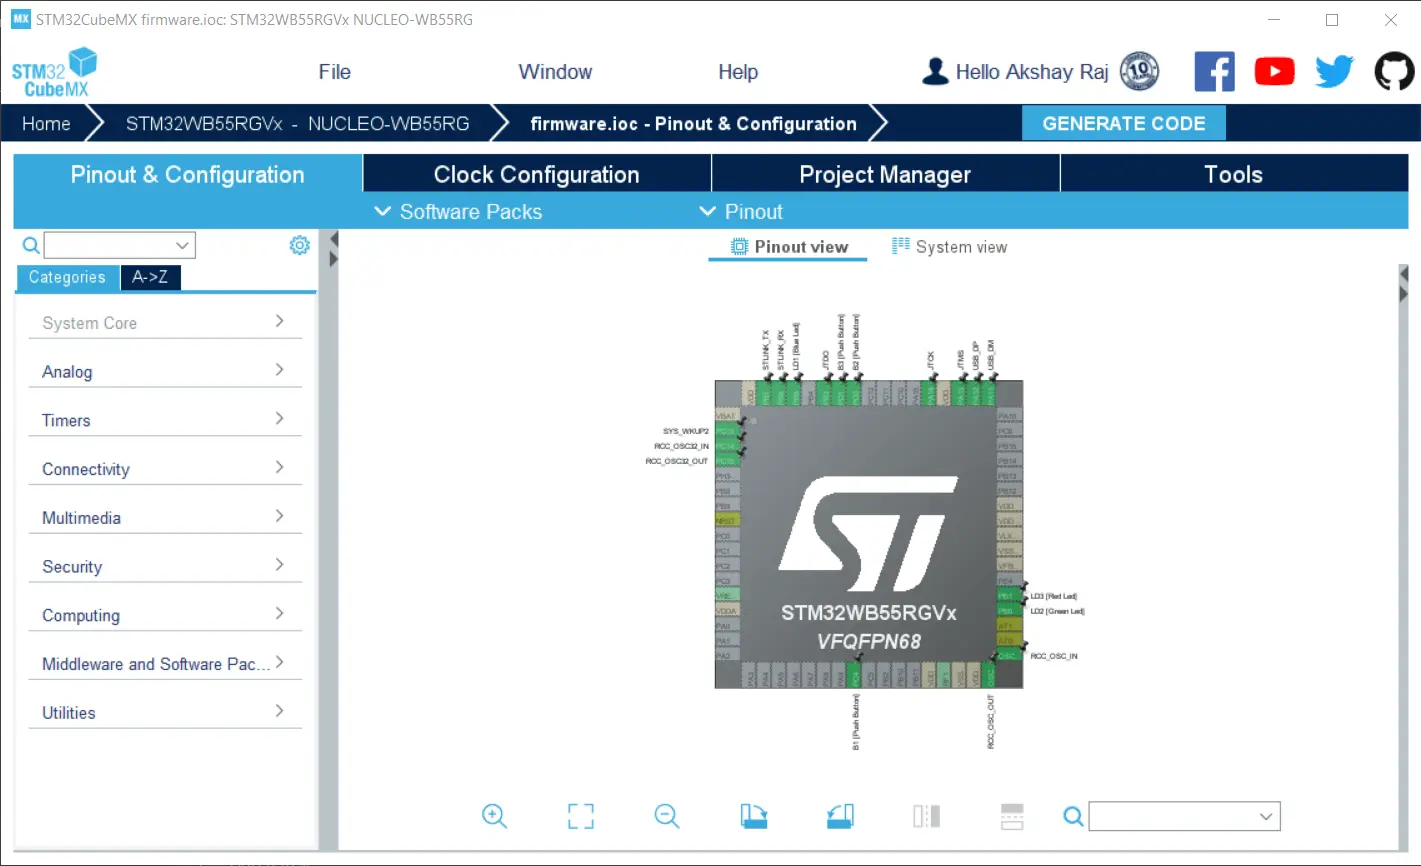
Pinout & Configuration tab after loading the project
Generating Code
Next, we’ll generate the code for the project. Click on the Project Manager tab and, under Project Settings, ensure the Toolchain/IDE is set to STM32CubeIDE.

Project Manager tab
Then, hit GENERATE CODE to initiate code generation for the project.
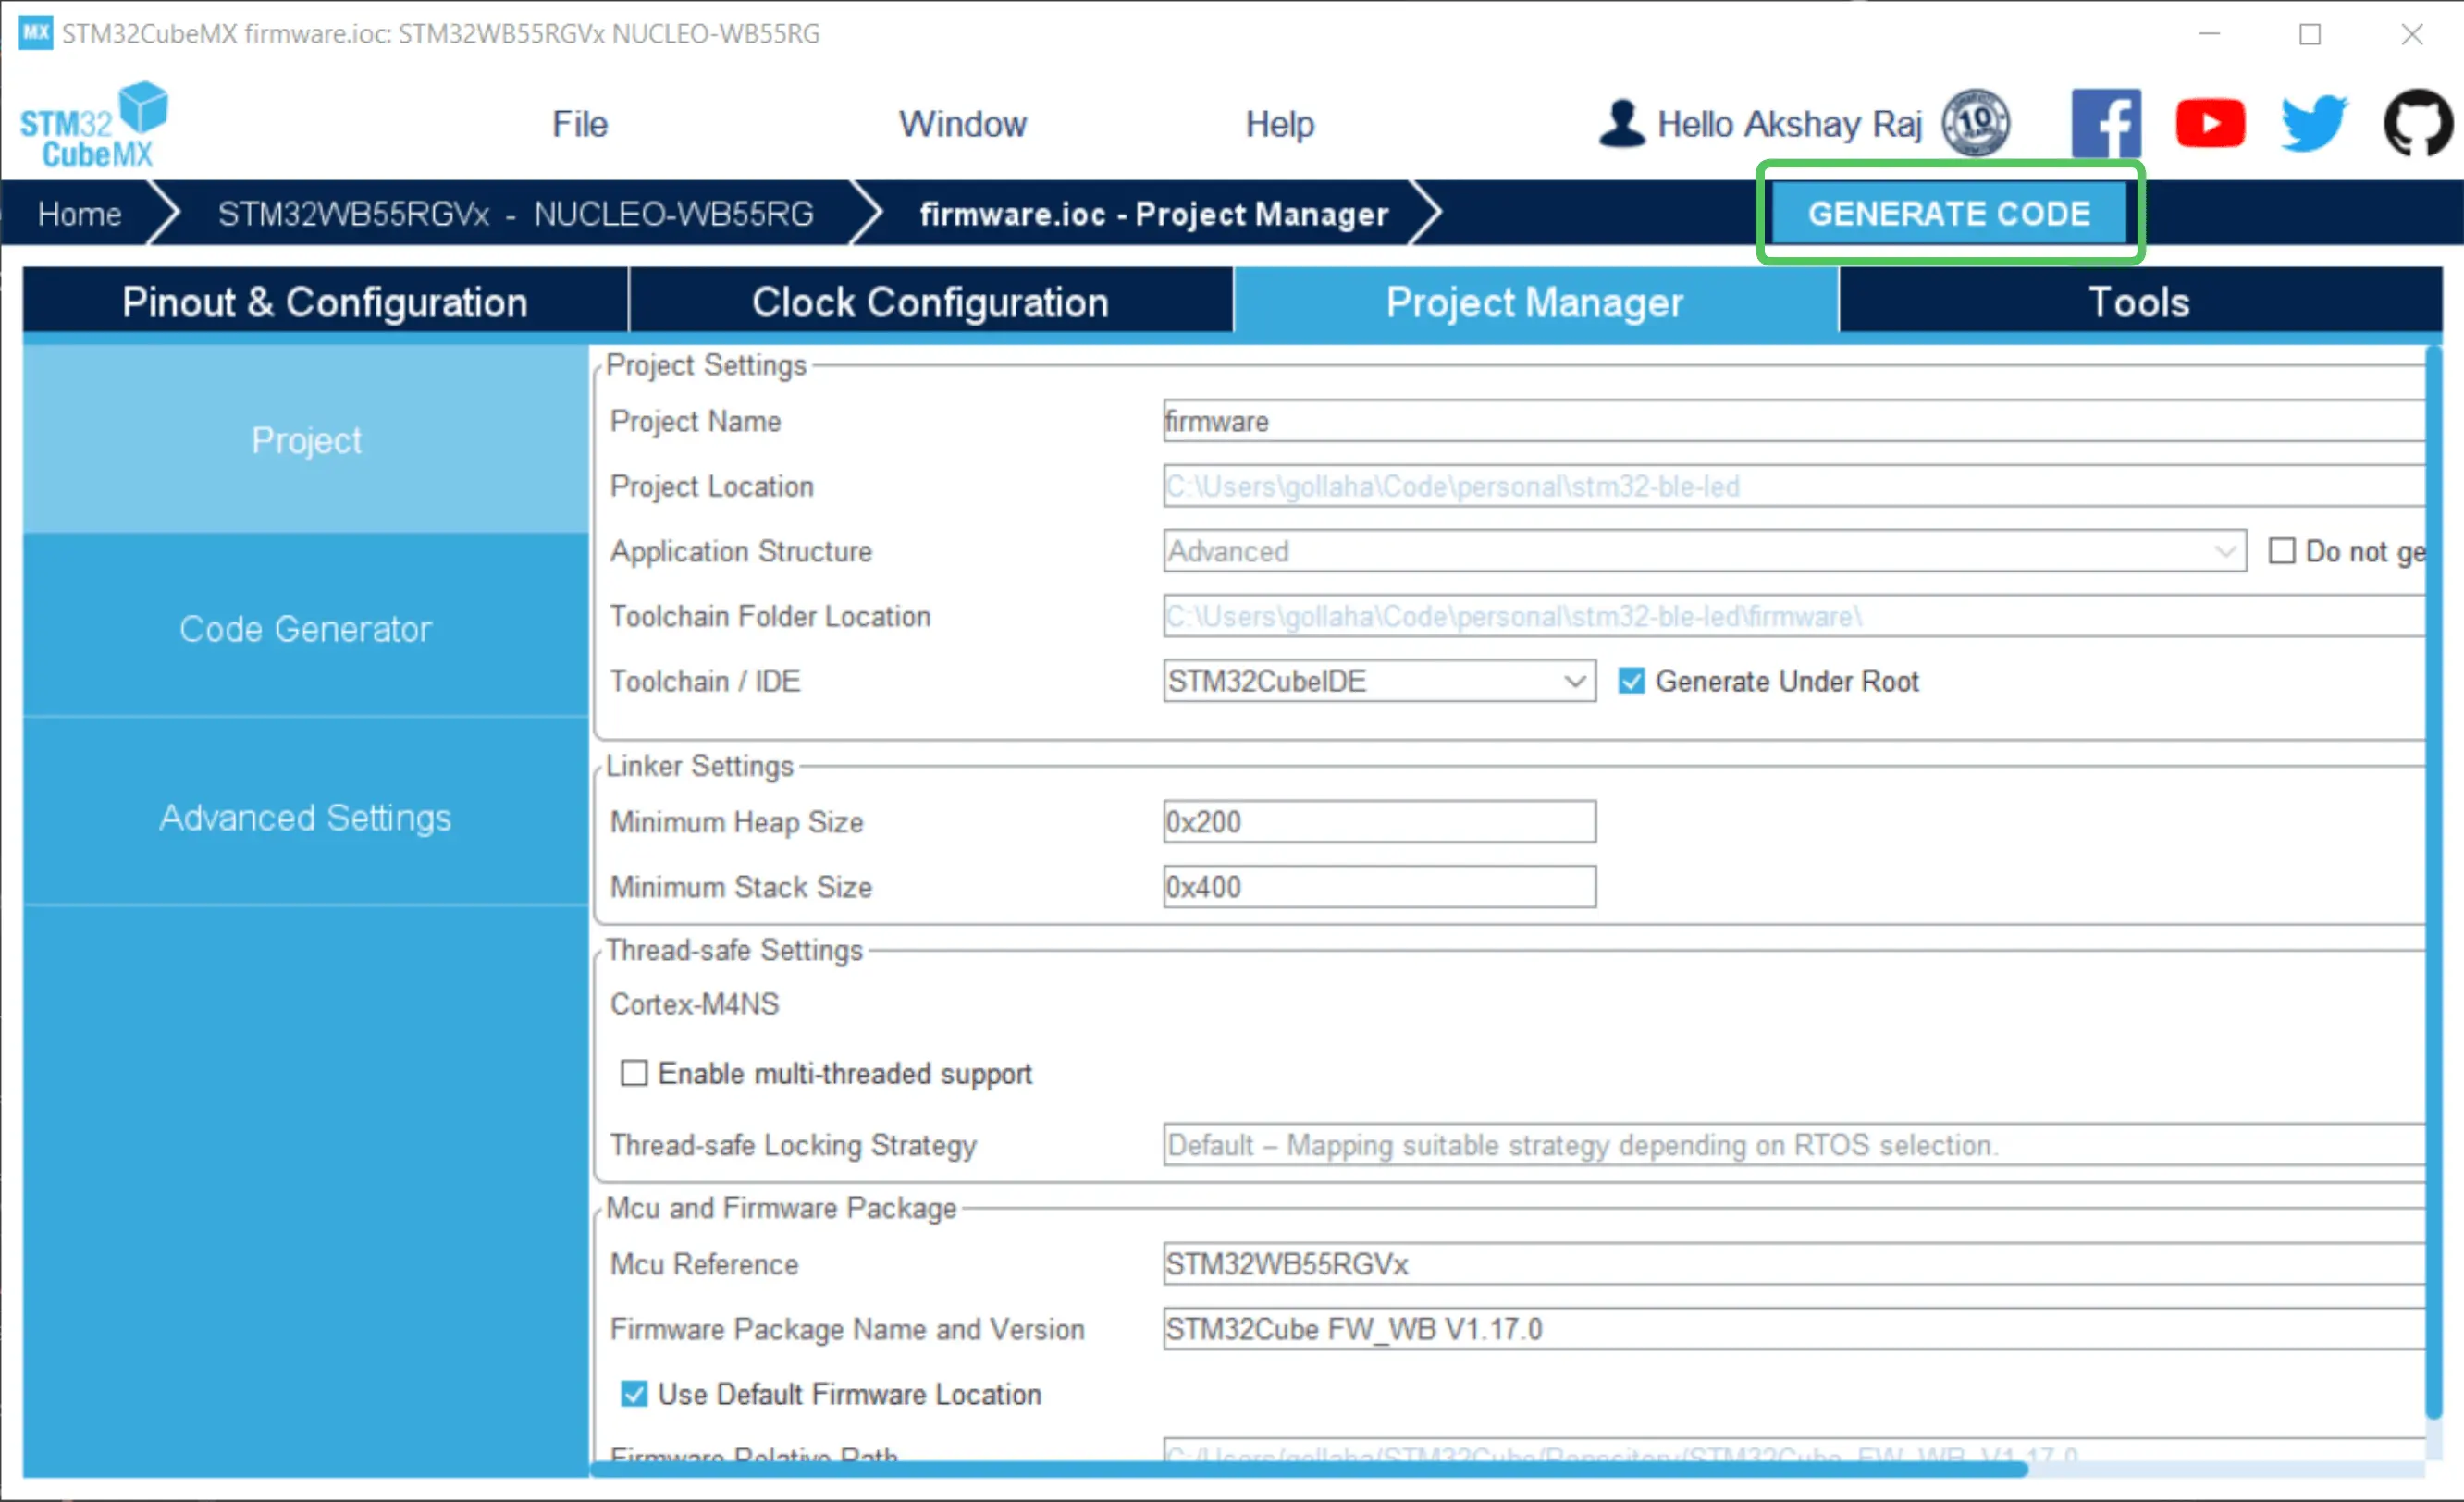
Generate code
This will generate the code in the project folder.
Opening the Project in STM32CubeIDE
Once the code generation is complete, the system will ask how you want to open the project. Choose Open Project.
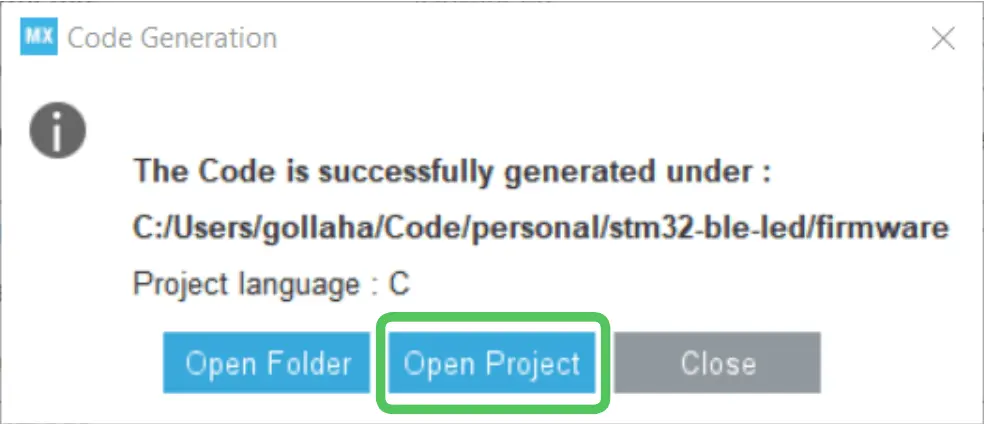
Open project in STM32CubeIDE
This action will launch the project in STM32CubeIDE.
At this point, you can close STM32CubeMX as we no longer need it. All subsequent configurations can now be done in STM32CubeIDE.
Wrapping Up
And there you have it - a simple, step-by-step guide on how to import an existing project into STM32CubeIDE. This process could have been a lot more complex, with various methods often involving a fair bit of manual work. However, I hope this guide has shown you an easier path, saving you time and effort.
While Eclipse-based IDEs like STM32CubeIDE might seem a little daunting at first, especially for those new to this environment, it’s important to remember that patience and practice are key. Don’t be discouraged if you don’t get everything right the first time. Keep trying, keep exploring, and before you know it, you’ll be navigating these tools like a pro.
If you encounter any issues or have questions about the process, don’t hesitate to leave a comment below. I’ll do my best to assist you. Here’s to making your coding journey a little bit easier! Happy coding!
