Running OpenCV with CMake and Ninja
March 24, 2024 • C++ OpenCV CMake Ninja • 5 minutes to read • Edit

Code can be found at https://github.com/akshaybabloo/opencv-cmake-ninja.
This post assumes that you have already built OpenCV with Visual Studio and CMake CLI or CMake GUI. If not, please refer to Build OpenCV With Visual Studio and CMake CLI or Build OpenCV With Visual Studio and CMake GUI.
Welcome back!
This post is an extension to the previous post on Build OpenCV With Visual Studio and CMake CLI or Build OpenCV With Visual Studio and CMake GUI. In this post, we will see how to run OpenCV with CMake and Ninja.
Some Prerequisites
- A built OpenCV library - See Build OpenCV With Visual Studio and CMake CLI or Build OpenCV With Visual Studio and CMake GUI
- CMake - Download CMake
- Ninja - Download Ninja
- Your favourite code editor - I use CLion or Visual Studio Code
Let’s Get Started
titbit: You can use CMake Init by friendlyanon to generate a CMake project template.
Create a folder, let’s call it opencv-cmake-ninja and open this is VS Code. Create the following files in the folder:
CMakeLists.txt- This file will contain the CMake configuration.main.cpp- This file will contain the main code.
Configure CMake
The CMakeLists.txt file acts as the backbone of our project’s configuration with CMake. In this essential script, we specify the minimum required version of CMake to ensure compatibility, define our project’s name, language, and version to establish its identity, and set the C++ standard to leverage modern language features. We also direct CMake to the OpenCV build directory, ensuring our project can access the necessary OpenCV libraries. By copying assets directly into the build directory, we simplify resource management. Finding the OpenCV package integrates crucial libraries, while specifying include directories and linking libraries tailors our setup to our project’s unique requirements. This setup not only primes our project for a successful build with the specified libraries but also highlights the adaptability of CMakeLists.txt to meet various project needs.
Here is the content of the CMakeLists.txt file:
# Specify the minimum required version of CMake
cmake_minimum_required(VERSION 3.27)

# Define the project name, specify the language (CXX for C++), and set its version
project(opencv-cmake-ninja LANGUAGES CXX VERSION 1.0.0)

# Set the C++ standard to use C++17 features
set(CMAKE_CXX_STANDARD 17)

# Set the path to the OpenCV build directory. Users should update this path accordingly.
set(OpenCV_DIR /home/akshay/Downloads/opencv-4.9.0/build)

# Copy assets to the build directory for easier access to resources at runtime
file(COPY ${CMAKE_CURRENT_LIST_DIR}/assets DESTINATION ${CMAKE_CURRENT_BINARY_DIR})

# Find the OpenCV package, specifying the minimum required version and necessary components
# Adjust the version according to your project's needs
find_package(OpenCV 4.9.0 REQUIRED COMPONENTS core imgproc highgui photo)

# Add include directories for the OpenCV headers using target-specific command
# This is a more modern and recommended approach over using include_directories
include_directories(${OpenCV_INCLUDE_DIRS})

# Define the executable to be built from the specified source files
add_executable(opencv-cmake-ninja main.cpp)

# Link the executable with the required OpenCV libraries
target_link_libraries(opencv-cmake-ninja PRIVATE ${OpenCV_LIBS})

# Optional: If using modern CMake practices, replace include_directories with target_include_directories
# target_include_directories(opencv-cmake-ninja PRIVATE ${OpenCV_INCLUDE_DIRS})
Write the Main Code
In the main.cpp file, first lets import the necessary libraries:
#include <opencv2/imgcodecs.hpp> // For imread()
#include <opencv2/highgui.hpp> // For imshow(), namedWindow(), and waitKey()
#include <opencv2/imgproc.hpp> // For resize()
#include <iostream> // For std::cerr
Next, let’s write the main code:
int main() {
    // Load an image
    auto dogImage = cv::imread("./assets/dog.jpg", cv::IMREAD_COLOR);

    // Check if the image is loaded successfully
    if (dogImage.empty()) {
        std::cerr << "Error: Image cannot be loaded. Please check the path." << std::endl;
        return -1;
    }

    // Resize the image
    cv::resize(dogImage, dogImage, cv::Size(dogImage.cols / 8, dogImage.rows / 8));

    // Display the image
    cv::namedWindow("Dog", cv::WINDOW_NORMAL);
    cv::imshow("Dog", dogImage);

    // Wait for any key press
    cv::waitKey(0);
    return 0;
}
Build the Project and Run
Now, let’s build the project using CMake and Ninja. Open the terminal in the opencv-cmake-ninja folder and run the following commands:
cmake -G Ninja -S . -B build
cd build
ninja
If everything goes well, you will see the opencv-cmake-ninja executable in the build folder. Run the executable:
./opencv-cmake-ninja
You should see a window with the resized dog image as shown below:
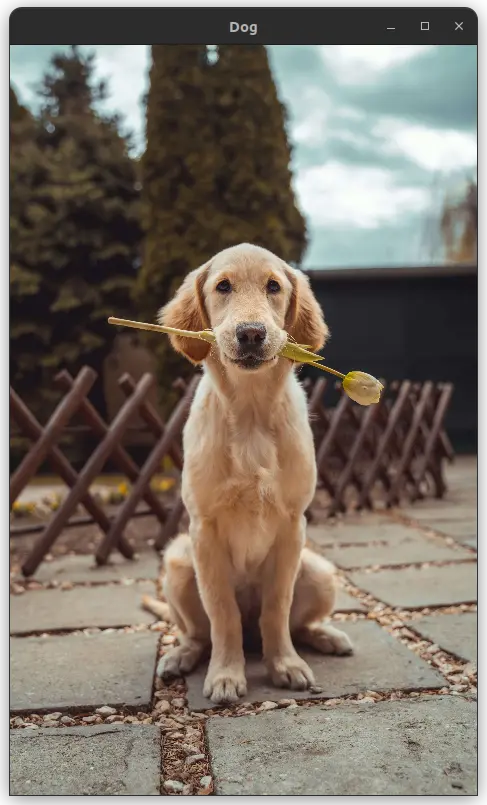
Screenshot of the OpenCV window with a Dog’s photo
That’s it! You have successfully run OpenCV with CMake and Ninja.
Conclusion
In this post, we explored the process of running OpenCV with CMake and Ninja, covering everything from the initial setup of prerequisites to the final execution of our project. We navigated through configuring the CMakeLists.txt file, crafting the main code, building the project with Ninja, and successfully running our OpenCV application.
I encourage you to play around with the configurations and code we’ve discussed. Experimenting is one of the best ways to deepen your understanding and discover the vast capabilities of OpenCV.
If you’re eager to dive deeper, keep an eye out for future posts where we’ll explore more advanced OpenCV features and integrations. For further learning and troubleshooting, communities like Stack Overflow, the OpenCV forum, and the CMake mailing list are invaluable resources.
Your thoughts and feedback are immensely valuable to me. If you have suggestions, questions, or insights from your own experience, please share them in the comments below. Your input not only helps me tailor future content to better meet your needs but also enriches our community’s learning experience.
Happy coding, and stay curious!
